Sometimes you might be thinking of a new look for your dresser. Or your dresser’s height might seem low. These issues are pretty common among people. For their dresser to have a modern look or to make its height bigger they are constantly thinking of ways and searching how they can modify their dresser or storage whatever you call to look good and make it a home decor piece.
Well, there is a simple and easy way to make your dresser look smart. Just adding legs to a dresser or storage can make it look modern. Now the common question after hearing this is, “How to add legs to a dresser?”
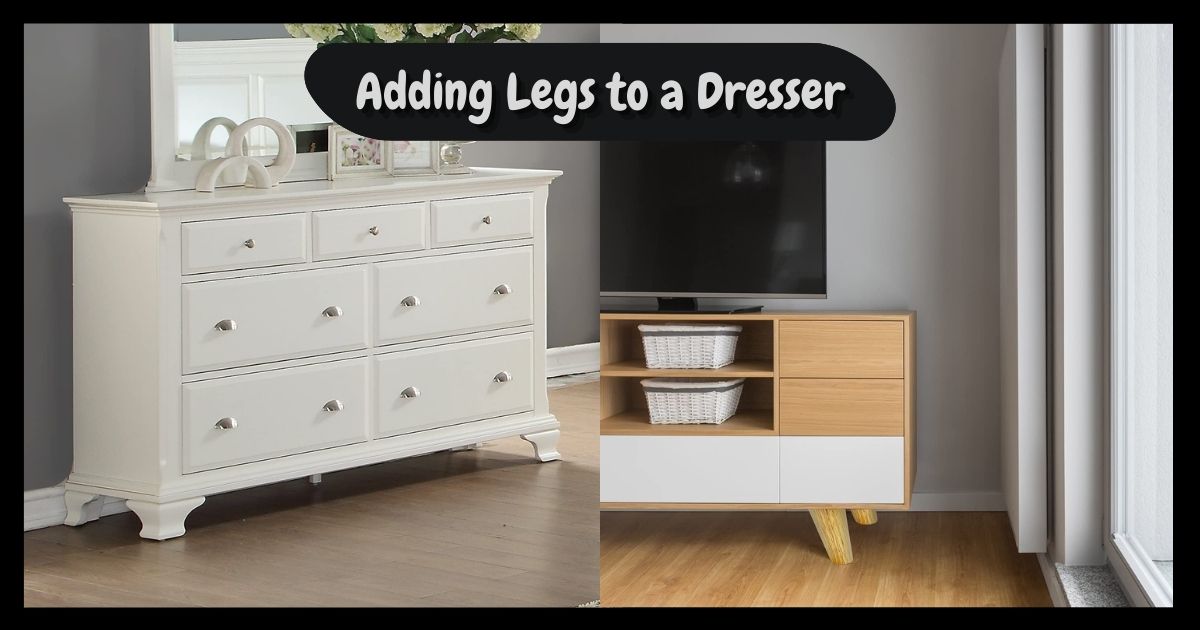
Today, I am going to explain how you can add legs to a dresser as simply as possible and I am going to discuss some related things. I must mention that common dresser leg or furniture feet can be of different types and can come in different sizes. For example, hairpin leg, table leg, pretty pegs, wood leg, metal legs and coffee table leg, etc. You can use custom legs too. Let’s not waste time and get started.
Can you add legs to a dresser?
It is a common question among people if they can add legs to a dresser. Of course, you can add legs to a dresser. Adding legs to a dresser is pretty simple and easy. You can do it yourself.
What you will need is to add legs to a flat surface on the bottom of the dresser. You must have or make a flat surface just by adding a new wood base to the bottom of the dresser. You can either add legs to the dresser by covering the entire width of the piece or just in the corners.
Related Articles:
Can you add legs to a malm dresser?
Yes, you can add legs to a malm dresser. There are all sorts of ways to add furniture legs depending on what your furniture looks like. You can keep the base and attach legs. But you can always remove it by removing screws on the bottom of the attached base. If you remove the base by removing screws you can have a flat solid bottom to attach the furniture feet to.

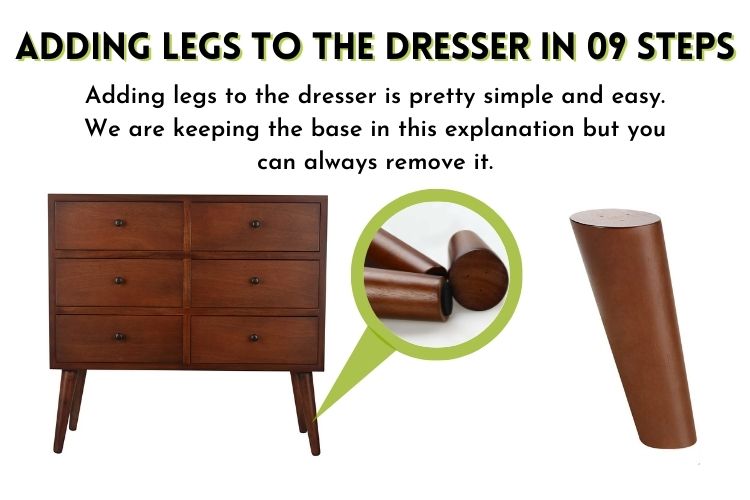
Adding legs to the dresser in 09 steps. (Base kept)
Adding legs to the dresser is pretty simple and easy. We are keeping the base in this explanation but you can always remove it. If you look at the base closer you might find in the inside of the base sits at an angle. For example, I had a dresser and when I looked closer the inside of the base sits at like a 12-degree angle. Now to add to the puzzle these wood supports that held the base onto the dresser, would be in the way of anything I wanted to put right onto the bottom of the dresser.
After going back and forth a little bit the easiest and best decision, in this case, would be to cut and add 1*6 boards to the inside of the base. Let’s add furniture legs in this case step by step.
Step 1: You should cut the boards to about 13 inches long so you could miter and bevel them on your miter saw.
Step 2: Then you can make 12-degree bevel cuts on both sides ripping the board to the same width that the base of the chest was. (You can use clamps and wood to hold the wood secured to the saw while making sure that your hands were never near the saw blade).
Step 3: Then you can make 12-degree miter cuts on both ends of the solid wood board.
Step 4: The last cut is going to cross-cut the board in half making two support pieces about six inches long which is plenty of room for your legs. You should replicate these cuts until you have supports for all of the corners.
Step 5: Then you can use wood glue and one-and-a-quarter-inch brad nails to secure the supports in each corner.
Step 6: Add a heavy-duty metal leg plate. These plates can be used on any furniture to add furniture legs. Just makes holes where the screws need to go and then screw it in the bottom of the dresser.
Step 7: Now use your legs to complete your work. But sometimes you might find these legs without hanger bolts attached to them. So you can use a drill bit to drill holes into the middle of each leg.
Step 8: Then use the pair of pliers to twist the coarse thread of the hanger bolts into the legs
Step 9: Then you can just screw the legs into each leg plate. you can attach hairpin legs the same way too. cause the hairpin leg needs to be screwed too.
How to add legs to a wardrobe?
Get your boring old furniture looking new by adding legs! A great way to update your furniture and give it a high-end look is to attach your feet to it. A wardrobe and a dresser have the same base on them. So no need to worry read below to know how to add legs to a dresser.
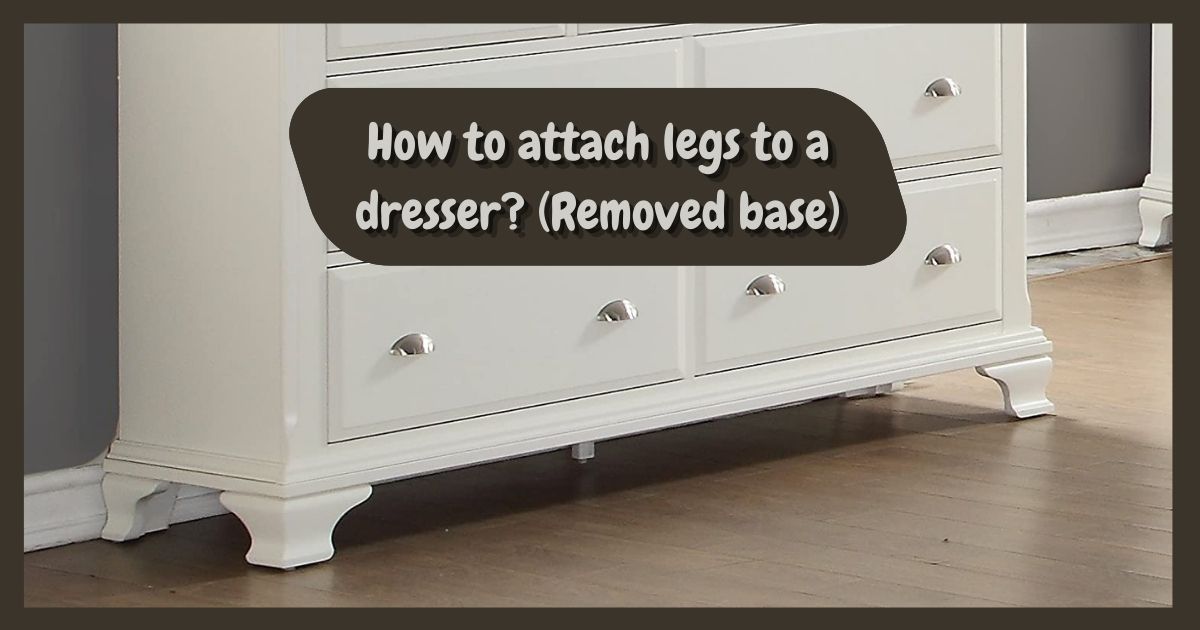
How to attach legs to a dresser? (Removed base)
You can change the dresser legs in pretty simple ways. It is pretty easy and simple. Below I have mentioned 3 simple ways to change the feet on a dresser.
Step:1:- Remove the bottom of your dresser.
First of all, you have to make your furniture lighter. Cause you are going to work on the bottom of the dresser. To do that remove the dresser storage space or cabinet and put the furniture on its back. You must remove the cabinet not to get any complications. This way you can get a good look at what you are working for. Usually, the bottom skirt is attached simply with screws. The screws holding the bottom skirt onto the dresser need to be unscrewed. If it isn’t coming off then use a hammer or you can use a saw to cut the bottom off.
Step:2:- Attaching legs to the dresser.
After the first step, you should have a flat surface to attach your legs to the furniture. If you find any rough areas, you can sand them down smoothly. So you don’t get any splinters when moving the furniture around. Add heavy-duty metal leg plates. These plates can be used on any furniture to add furniture legs.
Just makes holes where the screws need to go and then screw them in the bottom of the furniture. Now use your legs to complete your work. But sometimes you might find these legs without hanger bolts attached to them. So you can use a drill bit to drill holes into the middle of each leg. Then use the pair of pliers to twist the coarse thread of the hanger bolts into the legs. Then you can just screw the legs into each leg plate. As soon as you’ve attached the legs to the bottom of your furniture, it’s time to flip it over.
Step:3:- Finishing by painting.
Unscrew the legs of your furniture and stick the bolt into a cardboard box before painting the feet. You can then paint the hard-to-reach areas on the feet. And now your furniture makeover is done.
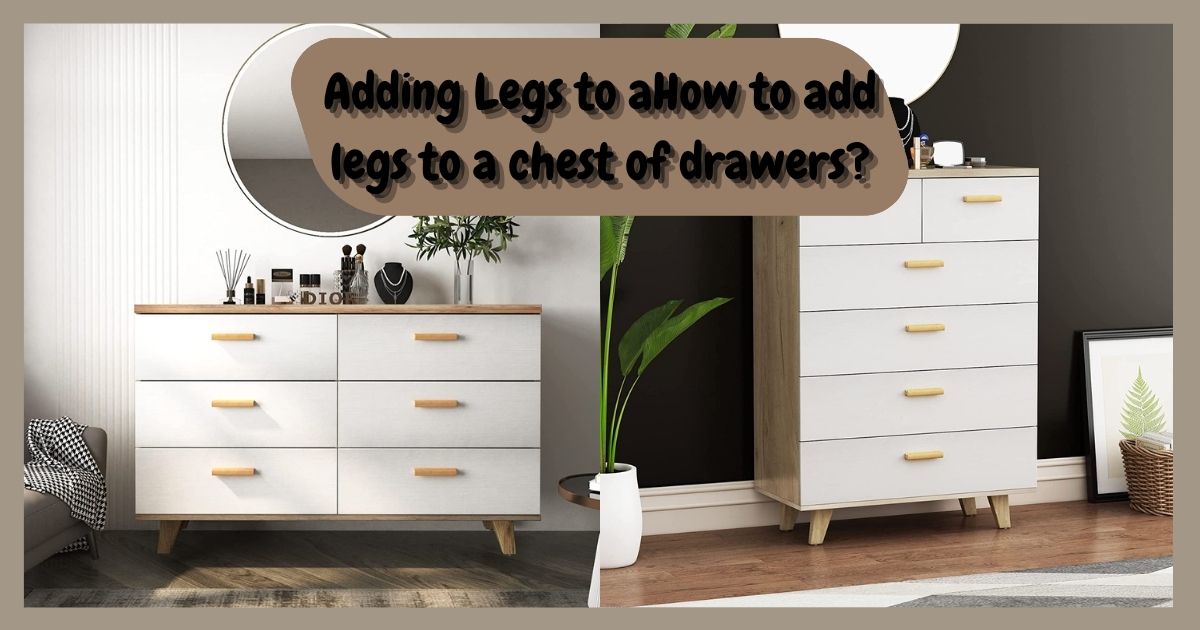
How to add legs to a chest of drawers?
Adding legs to a chest of drawers gives it a new look. To make your old furniture glow again adding legs can be a great idea. I have already explained in the above passage how you can add legs or feet to a dresser. It is the same for the chest of drawers too. To add legs to a chest of drawers first you must remove the drawers of the chest. Then turn it over and it’s the same as before. No need to worry.
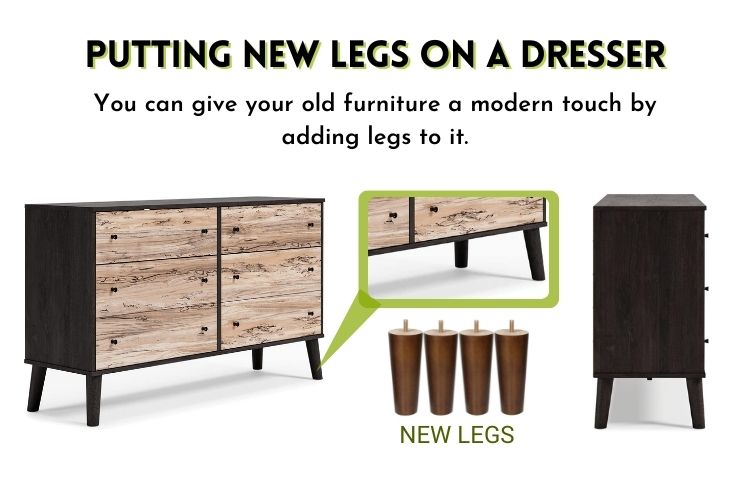
Putting new legs on a dresser.
Do you have furniture that is too short? You can give your old furniture a modern touch by adding legs to it. Legs don’t only add height; they also give it a sense of sophistication. An old dresser can be given a whole new look by adding legs! The legs or base of the furniture you are working with will need to be removed depending on what you are doing.
I had to remove the base from the furniture. But before that, you must remove the cabinet or drawer unit. There were only a few screws holding it on, so it was quite easy to attach. Several pieces have legs where the base is nailed on. As for those pieces, I simply pried the base off with a hammer.
Assess the construction of the piece once the base has been removed. Determine the placement of the legs and whether extra support is needed for attaching the mounting brackets. I don’t think a thin piece of plywood will be sufficient for mounting the legs. There is no way the piece will hold up. On the inside of the furniture, there was a solid piece of wood that was reinforced at the corners, so I attached the legs there.
I measured the placement, drilled the holes, and then pre-drilled the places where the screws will go. Be sure to use the correct length screws. Make sure they don’t poke through the furniture. The brackets were then screwed on all four corners and the legs were attached to confirm the correct placement.
Then you can use paint to finish it off. Paint can be necessary sometimes. You can finish by painting your wooden furniture legs. So you should take paint seriously. Paint gives your furniture a finishing touch.
Conclusion.
Adding legs to a storage chest or dresser can be pretty easy. It is very simple and I have explained how. You can simply follow the steps and replace your old furniture legs easily. And to replace table legs, you will find joints after opening the old legs by unscrewing them. Just screw new legs onto the table and you are done. I have shared my ideas and I have applied those before so you can have total trust in me to make it work.


Leave a Reply