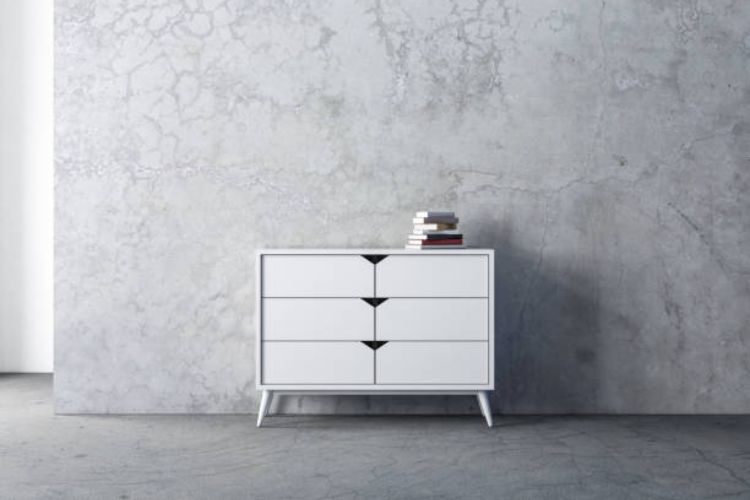
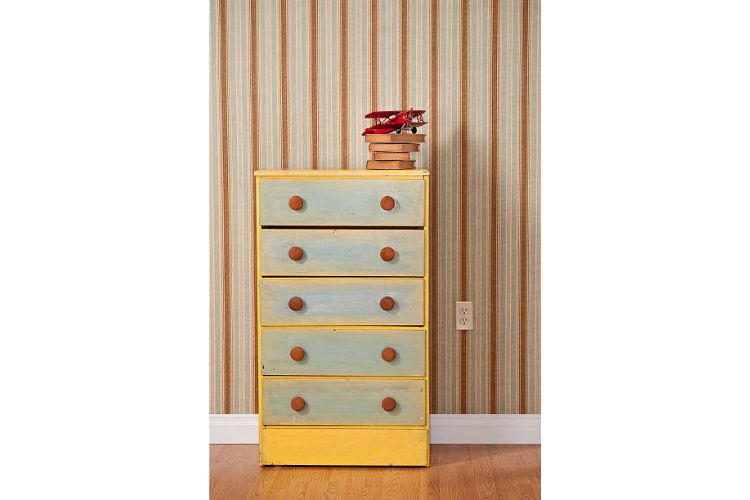
If you have an old dresser that has seen better days, why not make it taller? With the right tools and a bit of imagination, you can transform your dull dresser into something much more exciting.

Whether you want to add a few inches of height to an antique dresser or give a boring chest of drawers a modern touch, making your furniture taller is easier than you might think. Read on to learn how to make a dresser taller with tips for drilling pilot holes, attaching new legs, and adding vibrant colors.
Why my dresser is too low?
If your dresser feels too low and uncomfortable to use. Then it’s not uncommon for furniture to be ill-fitting, especially if it was purchased without considering the height of the user. But fear not, there are several solutions to this problem.
1. One solution is to add risers or bed lifts under the dresser legs to increase their height.
(This is a cost-effective and easy way to raise the dresser to a comfortable height without having to replace it entirely. Make sure to choose risers that are sturdy and can support the weight of the dresser.)
2. Another solution is to purchase a new dresser that is specifically designed for your height or adjustable to different heights.
(Look for dressers that have adjustable legs or come in different heights to find one that suits your needs. This may be a more expensive option, but it can also be a long-term investment in your comfort and well-being.)
Why are dressers so short?
Due to their relatively small size, many people wonder why dressers are so short. One possible explanation could be that shorter dressers are more accessible and easier to use, especially for children or those with mobility issues.
Shorter dressers may be preferred in smaller living spaces where space is at a premium. Another potential reason could be that shorter dressers allow for greater flexibility in room layout and design, giving homeowners more options when arranging furniture.
How to make a short dresser taller? [6 Steps Guideline]
Making a short dresser taller can seem like a daunting task, but with a few simple steps, it can be achieved with ease.

1. Assess the current height of the dresser and determine how much taller it needs to be.
2. Gather the necessary materials, such as wood planks, screws, and a saw.
3. To begin, remove the dresser’s legs and measure their length.
4. Cut the wood planks to match the length of the legs and attach them to the bottom of the dresser frame using screws.
5. Make sure the planks are securely attached to avoid any wobbling or instability.
6. Once the planks are securely attached, reattach the legs to the bottom of the planks. If the legs are no longer needed, they can be discarded. However, if they are decorative or serve another purpose, they can be reattached to the top of the planks.
Another option is to add furniture risers or bed risers underneath the legs of the dresser. These can be found at most home goods stores and come in a variety of heights. Simply place the risers underneath the legs of the dresser and adjust them to the desired height.
Note: It is important to note that when adding height to a dresser, may alter the overall aesthetic of the piece. Consider painting or refinishing the dresser to achieve a cohesive look.
How to build a tall dresser?
Building a tall dresser is a great way to add storage space to your home. There are several steps to building a tall dresser that is relatively easy and can be completed with minimal tools. With the right materials and instructions, you will be able to build your own high-quality tall dresser in no time.
| Steps | Instructions | Tools |
| 1. Measuring the space where the tall dresser will go: | The first step in this process is measuring the space where the tall dresser will go so you know how big it needs to be. | Measuring tape, a pencil/marker |
| 2. Decide what type of wood you would like to use: | You’ll also need to decide what type of wood you would like to use, as this will determine the strength and cost of the project as well. For larger projects like this, many people choose solid hardwoods such as oak or maple for maximum durability and beauty. | None |
| 3. Constructing the frame for the dresser: | The next step is constructing the frame for the dresser from four sides, the bottom panel, back panel, and bottom slats or edges cut into small cubes or rectangles on each side. The supports for each side should also be connected at this stage before any part of the structure is attached – these will provide stability to hold up heavy items later in use. | Saws and Sanders |
| 4. Cut out slots for all drawer fronts: | It’s time to cut out slots for all drawer fronts which can quickly be done with a circular saw or router bit before attaching them on from both sides – top drawer should be around 2 inches higher than the rest while the bottom one lower so there’s an extra inch in between each level of drawers when stacked atop one another upon completion. | Circular saw |
| 5. Attach handle pulls/knobs: | Once everything is securely attached together then attach handle pulls/knobs onto the front of drawers if desired (these are optional but add an extra level of aesthetic appeal). | Driller, Screws |
| 6. Apply a few coats of sealant/stain/paint: | Apply a few coats of sealant/stain/paint depending on personal preferences in order to finish off your dresser – different options are available that provide different types of finishes such as glossy smoothness, etc. | Painting brush, Paint/Painting spray. |
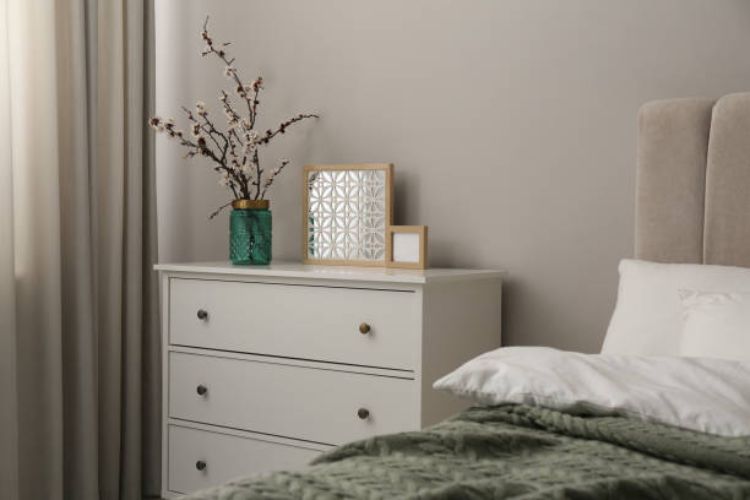
How tall should a dresser be?
When choosing a dresser, it’s important to consider the overall height of the user. If the dresser is too tall or too short, it can be difficult to reach the top or bottom drawers, which can lead to discomfort and frustration. As a general rule, the top of the dresser should be at a comfortable height for the user, which is typically between waist and chest height.

The height of a dresser should be based on the needs and preferences of the user. It’s important to take the time to measure the space and consider the intended use of the furniture before making a final decision. With careful consideration, it’s possible to find a dresser that is the perfect height for any space.
The standard height for a dresser
The standard height for a dresser can vary depending on the design and purpose of the furniture. A typical dresser’s height ranges from 30 to 36 inches. This height allows for easy access to the top of the dresser and the drawers without requiring excessive bending or reaching.
Typical dresser height
When it comes to furnishing a bedroom, choosing the right dresser is just as important as selecting the right bed. One crucial aspect to consider is the height of the dresser. The typical height for a dresser is around waist to chest level, which is about 30 to 36 inches high.
Add legs to furniture
Adding legs to furniture is a simple DIY project that can be completed in just a few steps:
1. Determine the height and type of legs needed for your furniture. This will depend on the style and function of your piece.
2. Measure and mark the placement of each leg on the bottom of the furniture. Use a level to ensure they are even and straight.
3. Use a drill to make pilot holes at each marked location. The size of the pilot holes should match the size of the screws you will be used to attach the legs.
4. Attach the legs to the furniture using screws. Make sure they are securely fastened.
5. Test the stability of the furniture with the new legs. Adjust as needed.
6. Finish the project by sanding and staining or painting the new legs to match the existing furniture.
With these simple steps, you can add legs to your furniture to give it a new look and improved functionality.
How to add legs to a dresser?
Adding legs to a dresser can be a great way to update its look and make it more functional. Here are the steps to follow:

1. Measure the height of the dresser and purchase legs that will raise the dresser to the desired height. You can find furniture legs at home improvement stores or online.
2. Remove any existing feet or base from the bottom of the dresser. Use a screwdriver or drill to remove screws or other fasteners that hold the feet in place.
3. Sand the bottom of the dresser to remove any rough spots or uneven areas. This will help the legs attach more securely.
4. Attach mounting plates or brackets to the bottom of the dresser using screws. These plates or brackets will hold the legs in place.
5. Attach the legs to the mounting plates or brackets using screws or bolts. Make sure the legs are level and secure.
6. Test the stability of the dresser with the new legs. If it wobbles or feels unstable, tighten the screws or adjust the legs until it feels sturdy.
7. Finish the legs as desired. You can paint or stain the legs to match the dresser or leave them unfinished for a more rustic look.
Dresser legs
Dresser legs are an essential component of any dresser, providing not only structural support but also aesthetic appeal. When choosing dresser legs, it is important to consider the style and material that will best complement the design of the dresser as well as the overall decor of the room it will be placed in.
Whether opting for sleek, modern metal legs or traditional wooden legs, the right dresser legs can elevate the look and feel of any piece of furniture. Replacing worn or outdated legs with new ones can be a cost-effective way to give an old dresser a fresh new look.
Adding legs to heavy furniture
Adding legs to heavy furniture is an easy and cost-effective way to update the look of your space while also making it easier to clean and move around. Heavy furniture such as sofas, cabinets, and dressers can be difficult to clean underneath and may cause damage to flooring if dragged. By adding legs, you can raise the furniture off the ground, making it easier to clean and preventing damage to your floors.
Adding legs can give your furniture a sleek, modern look that is perfect for contemporary spaces. With a variety of leg styles and finishes available, it’s easy to find a design that complements your existing decor. So, if you’re looking to update your space without breaking the bank, consider adding legs to your heavy furniture to give it a fresh new look.
Adding legs to a heavy dresser
Adding legs to a heavy dresser can be a great solution for those who are looking to update their bedroom furniture without replacing everything in it. By adding legs, the dresser will be lifted off the ground and given a new, modern look. It can make the dresser easier to move around and clean underneath.
It is important to ensure that the legs are sturdy enough to support the weight of the dresser and that they are installed properly to prevent any accidents or damage. With the right tools and careful installation, adding legs to a heavy dresser can be a simple and effective DIY project.
Dresser risers
Dresser risers are small but effective tools that can help maximize storage space in bedrooms. They are designed to be placed under the legs of a dresser, lifting it off the ground and creating additional room underneath. This extra space can be used to store items such as shoes, storage boxes, or even another dresser.
Dresser risers come in various sizes and materials, such as plastic, wood, or metal, allowing for customization of the height and aesthetic of the dresser. They are easy to install and can make a big difference in organizing a cluttered room. Dresser risers are an affordable and practical solution for anyone who needs more storage space in their bedroom.
Conclusion
There are several ways to make a dresser taller. One option is to add legs or feet to the bottom of the dresser, which can be easily purchased at a hardware store or online. Another option is to build a new base for the dresser, either by adding a platform or extending the existing legs. It’s also possible to mount the dresser on a riser or platform, which can be adjusted to the desired height. With a little creativity and some basic DIY skills, it’s possible to transform a short dresser into a functional and stylish piece of furniture that meets your needs.
FAQs
Frequently Asked Questions
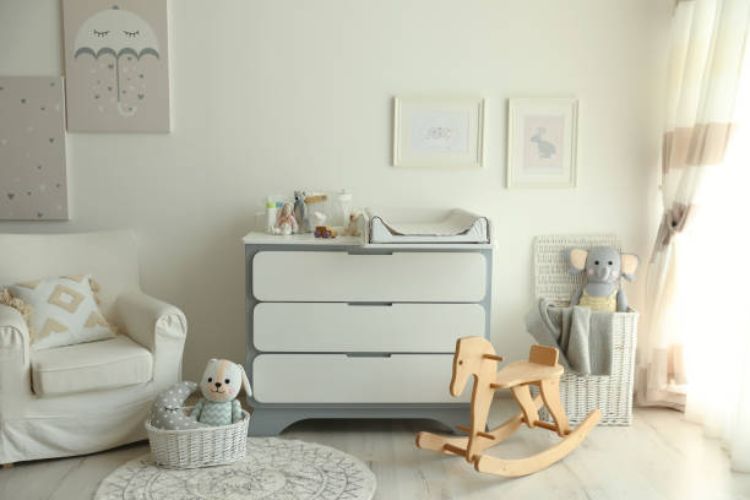
How tall should a dresser be for a changing table?
A dresser should ideally be around 30-37 inches in height for it to be used as a changing table comfortably. This is because this height will provide enough space for the changing mat and also ensure that the parent or caregiver is not straining their back while changing the baby.
How to make a pax wardrobe taller?
To make a Pax wardrobe taller, you can add an extension unit on top of the existing wardrobe or install taller legs. Additionally, you can also replace the existing doors with taller ones to create a taller appearance. It is important to ensure that the added height is stable and does not compromise the structural integrity of the wardrobe.
How to cut off the bottom of a dresser?
To cut off the bottom of a dresser, you will need a saw, measuring tape, and a pencil. First, measure the height you want the dresser to be and mark it with a pencil all the way around the dresser. Then, using the saw, carefully cut along the marked line. Make sure to sand the edges smoothly to prevent any splinters. It is also important to ensure that the dresser remains stable and balanced after the bottom has been removed.


Leave a Reply